
A few days ago my husband surprised me with an iPad 2. I was completely stressed out over the first week of school and I didn't see it coming. Yup, he's awesome like that.
At first I couldn't put it down. Then I was scared of dropping it. So I decided to make a padded cover with a hand strap. Here you can see the finished product.
 |
| iPad 2 Cover |
I started with fabric scraps and HeatnBond leftover from another project. A quick trip to Hobby Lobby added ribbon, elastic, and batting.


I used two pieces of 8.5 x 11 paper as a pattern. If I ever make another cover like this I'll enlarge the pattern a smidge for larger seam allowances. My seam allowances were about 1/2 inch, which didn't give me much wiggle room. I'd also add about half an inch of width without cardboard for the fold. {Did I mention I'm not a professional seamstress? I've learned a lot from trial and error. Mostly error.}

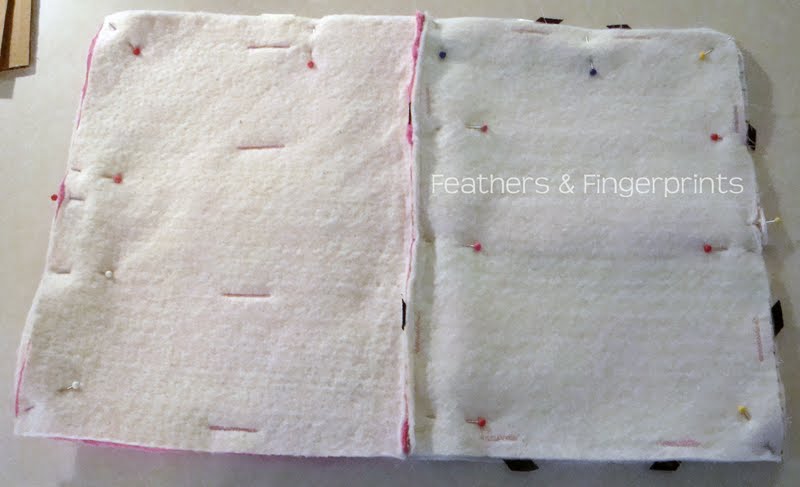
Cut two pieces of fabric for the inside of the cover.


The bubble fleece worked a lot better in my head than in reality.
Its just so. stinkin. stretchy.

I used HeatnBond to attach batting to the back of each piece. I was very careful when ironing the bubble fleece as to not iron out all the bubbles.

I added a ribbon to the left piece for a hand strap. I attached it using a tight zigzag in four spots (top, bottom, 3.5 inches from top, and 3.5 inches from bottom). On the right piece I laid out the black elastic to hold the corners of my iPad and pinned. After removing the iPad I tightened the elastic slightly before securing with another short zigzag. Next I sewed my right and left piece together.


I pinned my ribbon ties to the edges so I wouldn't forget later.

Now for the outside of my case. I wanted to use two fabrics so I folded my pattern almost in half horizontally (adding a seam allowance). A modified "hot dog fold" if you will.


I pressed the seam open and added a ruffle ribbon to the right side.


Bonded batting to the back.

Cut two rectangles from a diaper box. They were roughly 7.5 x 9.5 inches.

Sew inside piece (fleece & stripes) to outside piece, right sides together. Leave top open to insert cardboard.
Turn right side out and press. Fold top seam in and press.

Sew a straight line down the crease to keep the cardboard in place. Insert cardboard.

Carefully stitch the top closed.

Ta-da!


what a great idea!! I love the material you used too. The colors are right up my alley. :)
ReplyDeleteCongrats on the new toy! :) The case is great.
ReplyDeleteThis is such a great idea, those fabrics are fantastic!
ReplyDelete